Wednesday, March 30, 2011

nose cone for stem

the last few days at uni ive been working on makeing the nose cone for the stem.
In order to get the nose cone ready first you have to get lofting done with all the correct measurements. I did this by going on AutoCad and also measureing from the boat itself.

The process for the nose cone is kinda difficult when its you first time doing it.
After the lofting was done you had to figger out and Radious to connect port side with staboard.

after you find out the radious you have to transfer the radious 8mm out, than you have to find out the points where it meets an also to leave exta bits longer on the end. Getting the angles from each side was not to hard because all you had to do is draw a line down than find out the distance on that point from the CL to the Fp and you will get your angle.

Than its time to get ready the Jig, i had to think about how i will get the jig done Male or Female. Once you think about the jig than its out to find the wood for it, i just used off cuts that we had from left over timber to make the jig, when the wood is ready than its time to transfer the lofting of the radious onto the wood and cut it out on the bansaw an also on the sander to get the correct curve onto it.

Cutting out the foam for the jig.

I had to cut out about 12 peaces of foam which were around 450mm by 13mm. When the foam was all cut up an ready i dry fitted it into place to see if it looks good than it was time to mix the glue and fit the foam onto the jig.

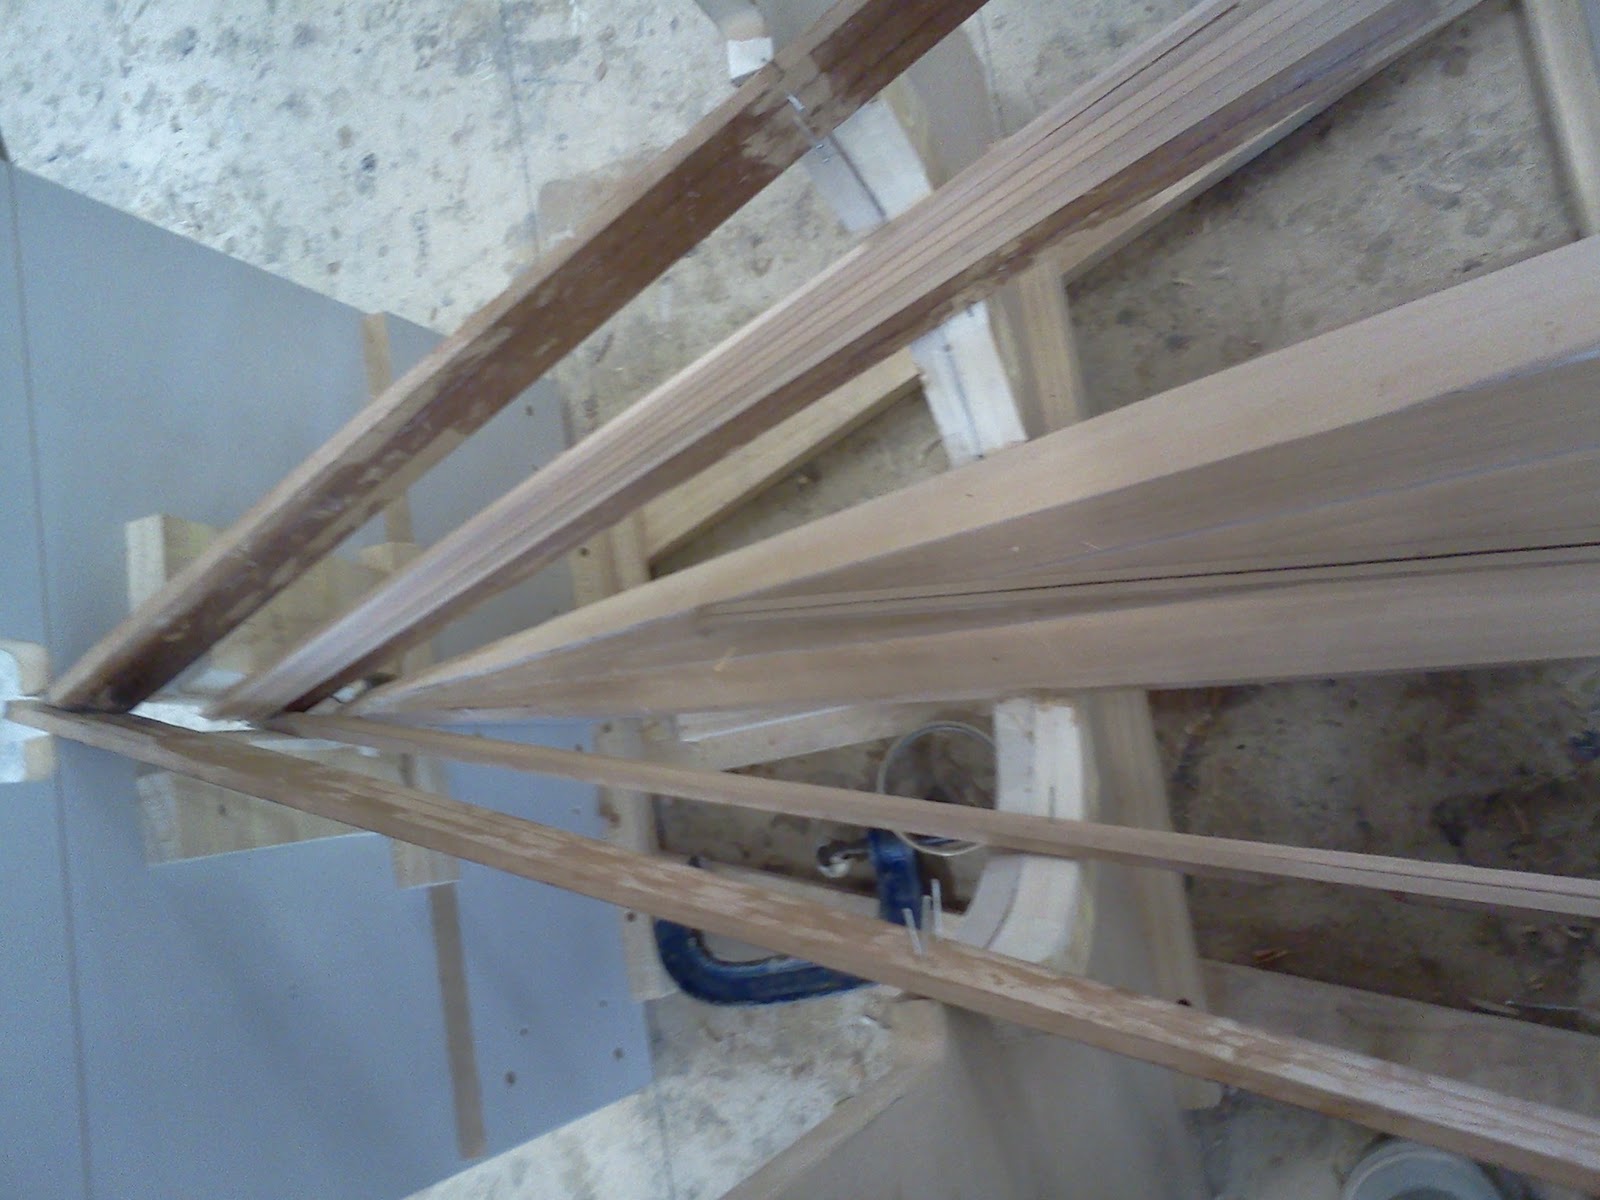
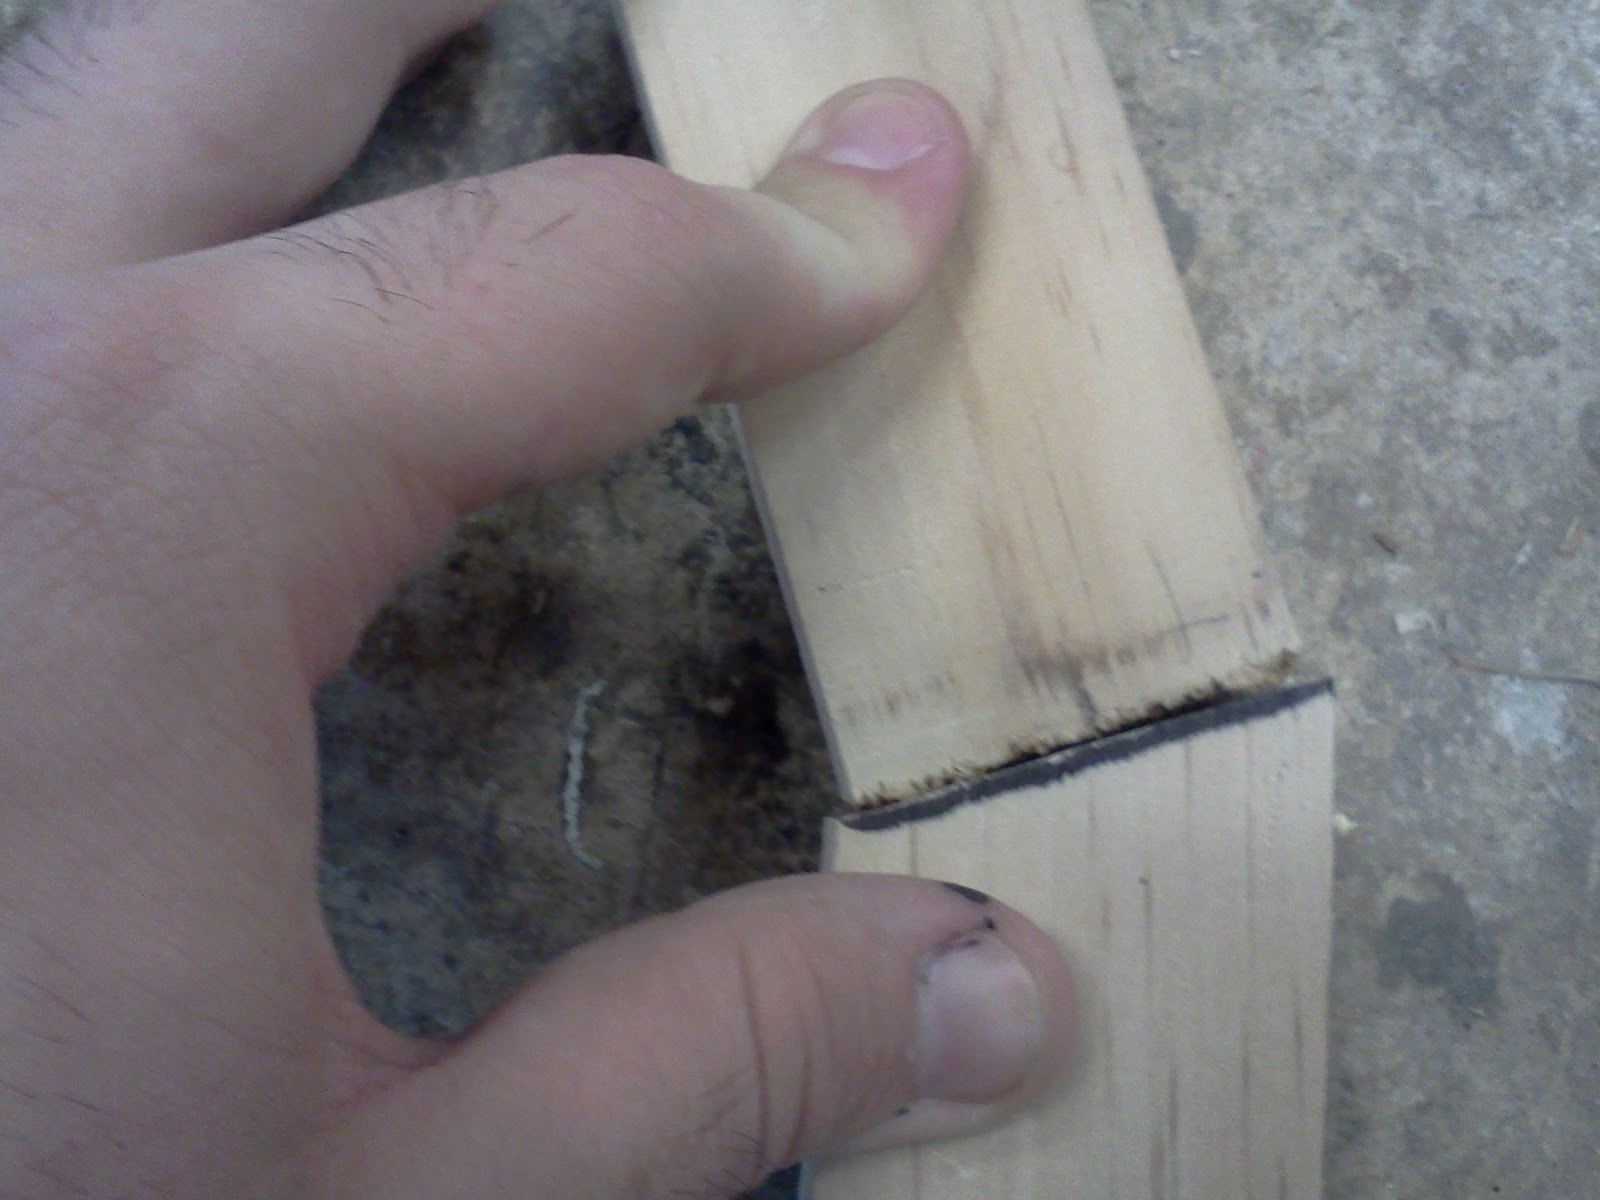
Photos From The Week & Nose Cone


Monday, March 21, 2011

Planks

The whole group was working on getting the planks done. We were divided into 2 groups on the start, I,Taz,Jade and Eren. we were working on getting the planks into place onto the bottom.

By the end of the day both groups set up 5 planks on each side, Port and Staboard.

In order to get the planks to fit into the places that we want, we had to cut the Normal sized planks into half so it can give us better bend an much easyer to controll.

The planks were 8mm thick and the length changed for each plank depends on the possition into on, the reson for this is because all the plank come together in the FP.

Once the planks were planed we dry tested them on, than once they fit properly we places glue onto them and nailed them into place.

Photos.


On Tue i an greg finished setting up the grid for the Deck and Cabbon top.
We marked out all the station lines and CL. in order for us to get the correct Beam measurements we went on AutoCad and found out the measurements for each station.
After we found out the measurements we made a frame where the deck an cabbon top are going to sit on, we made it on 720mm out from the CL untill it hits station 6, after station 6 we made it go down 100mm in order to give us the shape.

Once we got all the measurements into place we got the planks ready.
The planks were 5.5m long, 45mm width. I and Taz made 4 planks. 3 were for the frames, 1 was to make brase from. After all the wood was ready we got the correst measurements and cut them into the correct lengths for the Grid.

We used No More Nails glue in order to glue the wood onto the floor than we put heavy objects ontop of the wood so it stays into place for at least 24 hours minimum for the glue to get its full power.

Photos.


Tuesday, March 15, 2011

Safety in small craft.

You need the following items in order to be safe in sea.

1)Personal Flotation Devices:
Eg: Lifejacket with correct size and for everyone aboard.

2)Sound Signal Device:
Eg:bell and  whistle to catch attention incase of trouble.

3)Visual Distress Signal:
Eg:. Flares and  flare guns

4)Fire Extinguisher:

5)Additional Requirements:
Eg: Clothes,Bucket,Knife ect...
Today at uni i was takeing out the Gusset on St.2 an St.13, the reson for this was because we found out that the stations were 1-2mm off on the Port side of the boat. In order to move the station we had to make new Gussets for both St and replace them with new 1s and re-drill.

Takeing out the Gusset on St.13 was easy because it had more area you can work around while in St.2 i had to care for the other stations and the planking that was glued into place. In order to take out the gusset on St.2 i used Weges and drove them into the end of the gusset to push out the Glued zones on PVA.

After i finished with the gussets we went on to takeing off the Chine planks from each side and ripping them onto 3 peaces ( but not fully ripping the whole plank ) we ripped each peace on 17mm and 1.5m from the Ap and the other rip was 2m from the Ap. After the ripping was done we made the apoxy and started to glue up the rippings.
The reason why we ripped the planks up was because it gives u much more bend into the female boat and also it becomes much more stonger incase the plank tryed to come apart.

I also asked Chris today on why is Female boat easyer to make than Male. One of the reason he gave me was because Female boat all ur planking will be pulled towards the group because of Gravery while on Male you have to work upside down an also in order to keep ur planks in the corret place you will need alot of nails to hold them into place.

                            Photos For The Last Days Inside The Workshop.