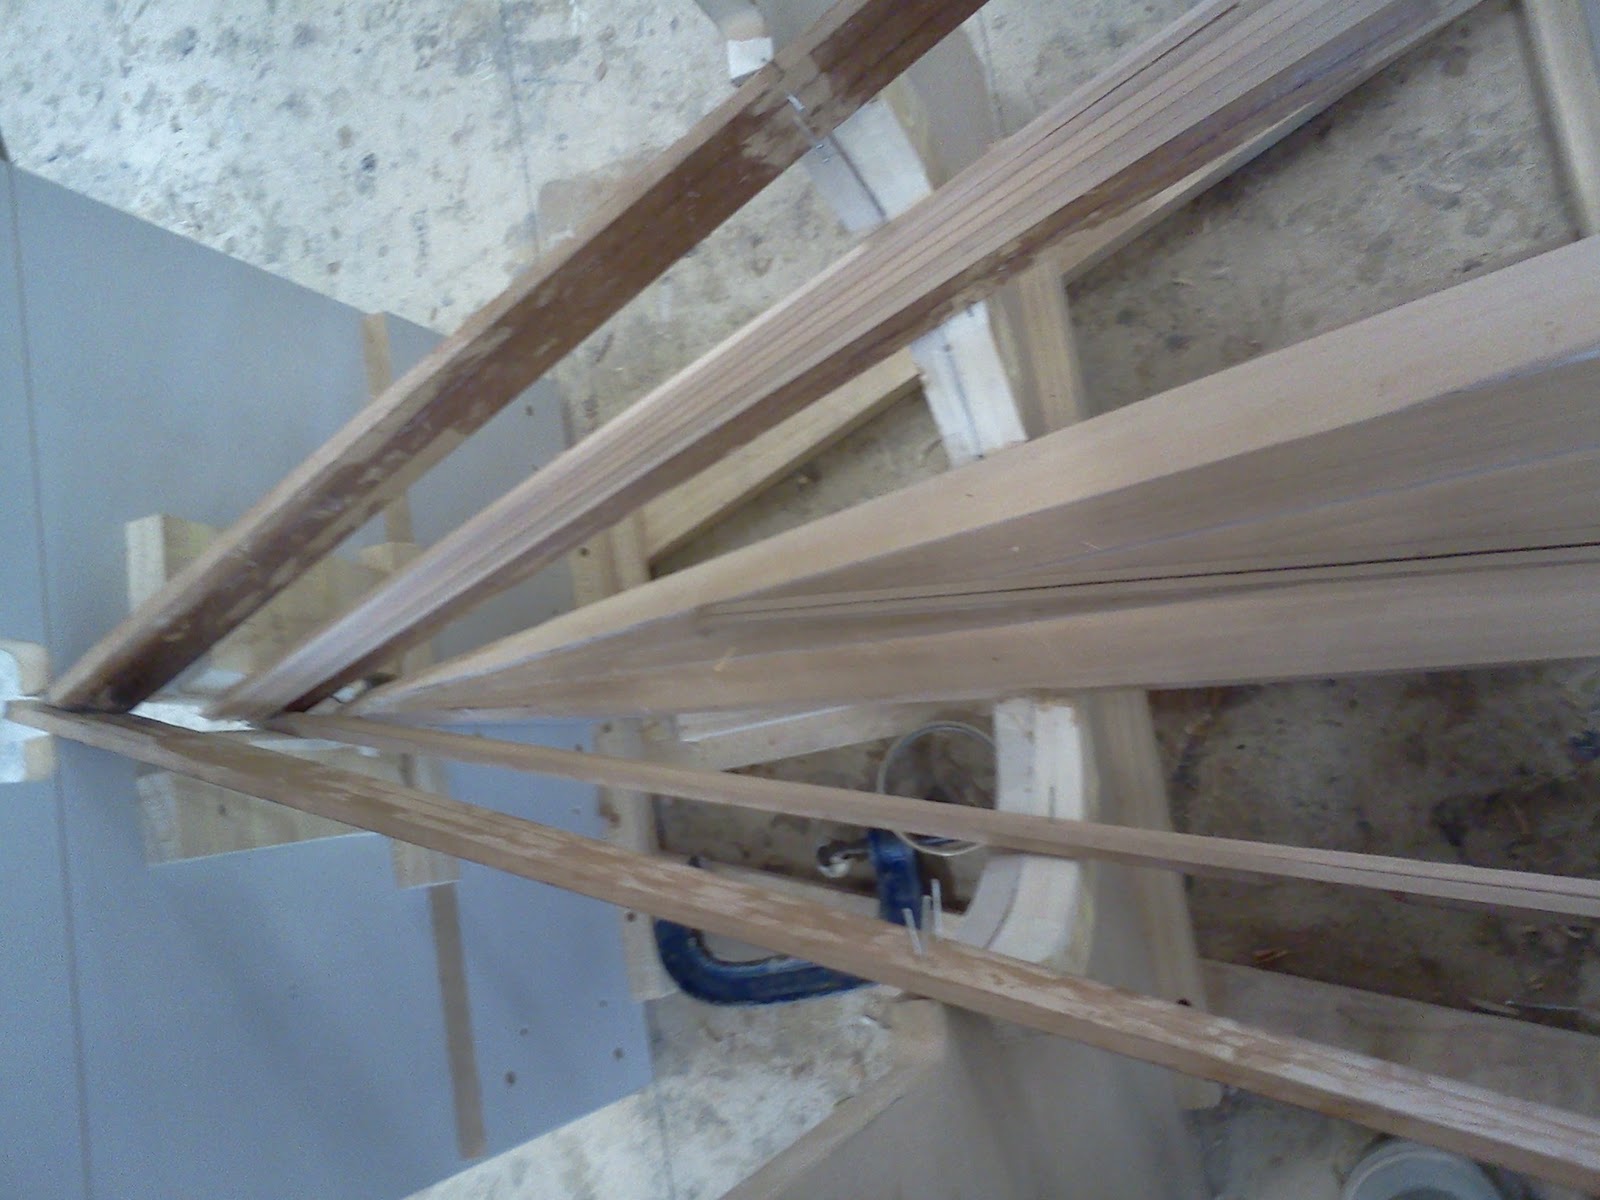
By the end of the day both groups set up 5 planks on each side, Port and Staboard.
In order to get the planks to fit into the places that we want, we had to cut the Normal sized planks into half so it can give us better bend an much easyer to controll.
The planks were 8mm thick and the length changed for each plank depends on the possition into on, the reson for this is because all the plank come together in the FP.
Once the planks were planed we dry tested them on, than once they fit properly we places glue onto them and nailed them into place.
Photos.


Goran, Another good start to this blog. Could you explain how the planks are held in place to the frames?
ReplyDeleteCould you explain also why the planks are tapered?
How are they held together?
Which planks are the first and why is this so?
Can you also explain in detail about the chine plank?
Why are the planke overplaping the last frame?
What timer did you use ti make the planks out of? And why?
the planks were held inplace by gravety pushing down onto them ann we used some nails in order for them not to move around while the appoxy is drying.
ReplyDeleteThe planks had to be Tapered in order to reduce the tention because they had to have a big angle change.
First planks we had to put in were the ones down the center line than work outwards port,starboard, than we did the chine plank.
i think we used red seeder to make the planking from its much better wood and its much stronger and also coz of the weight of it.